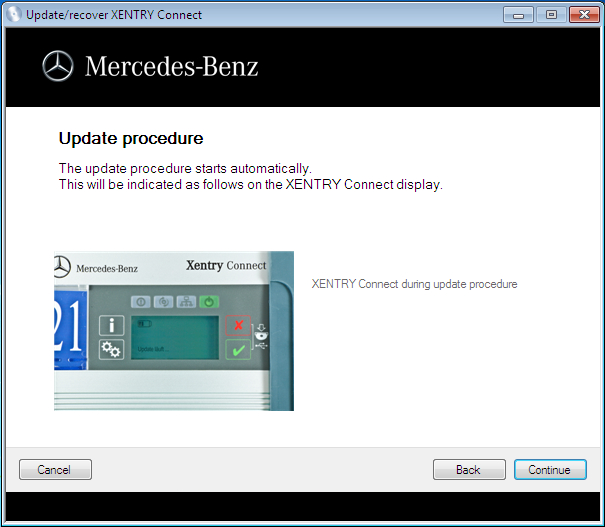
BMW ICOM Win8.1 SSD Solution 2014-09 Version
BMW ICOM Win8.1 SSD Solution 2014-09 Version, the new version software is based on Windows8.1 Pro ISTA/D 3.44.40 ISTA/P 53.4.002
BMW ICOM Win8.1 we installed some BMW Expert tools such as ESYS, NCS Dummy, INPA software etc. With these software you can edit the BMW ECU information without programming tool, also you can personalize the Parameters of your car.
Below are some photos we shot of the software, we tested with DELL E6420 laptop.
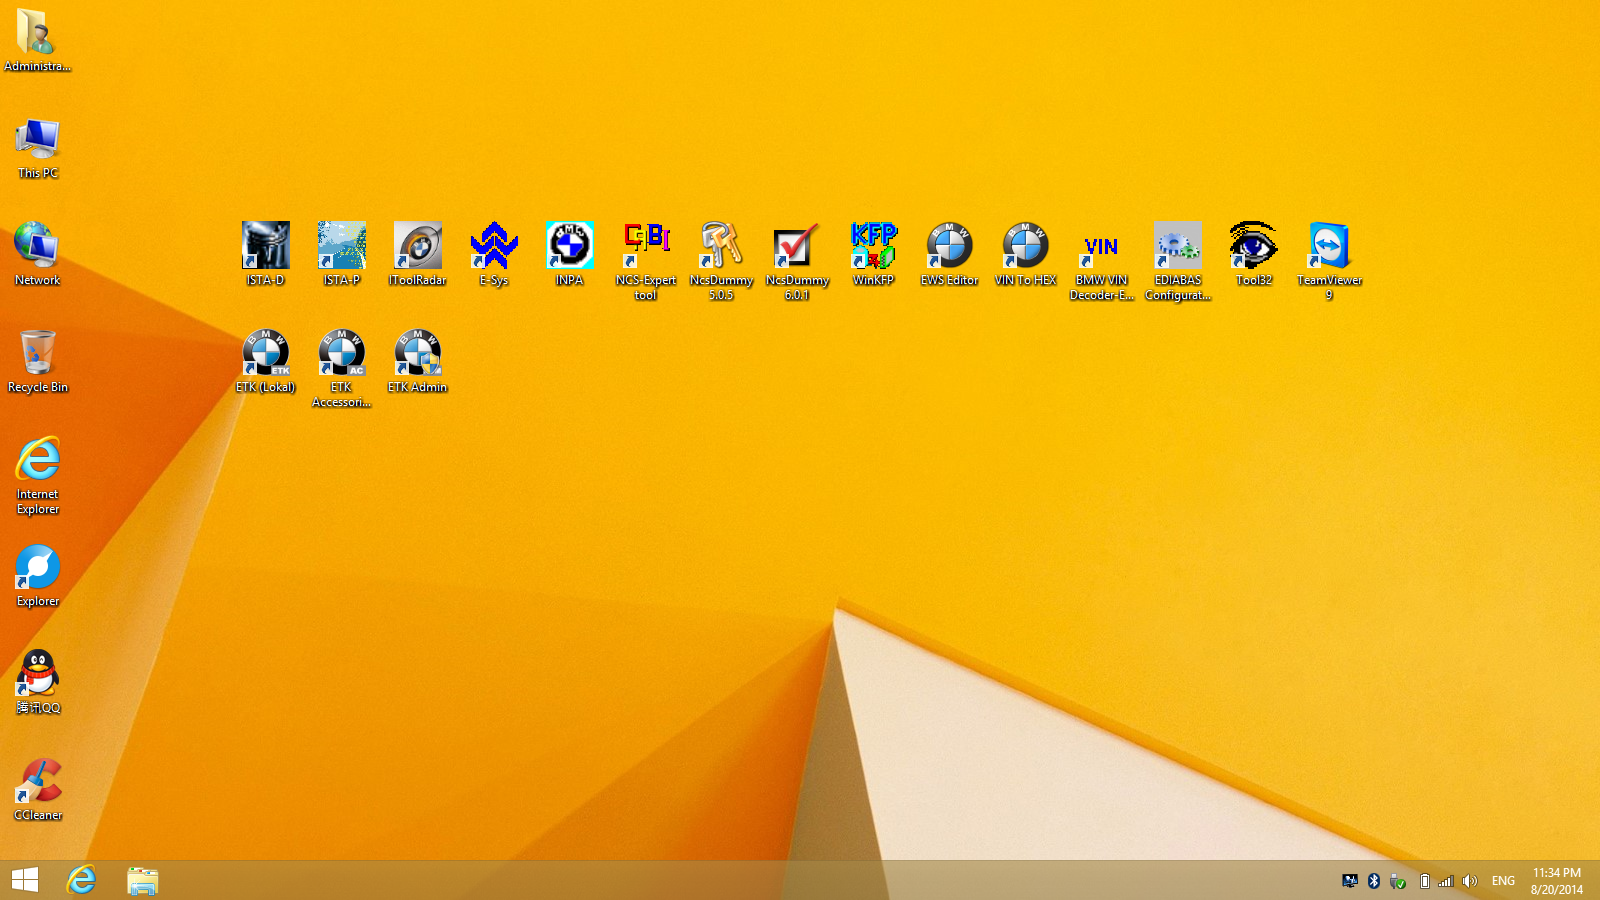
ICOM WIN8.1 Desktop
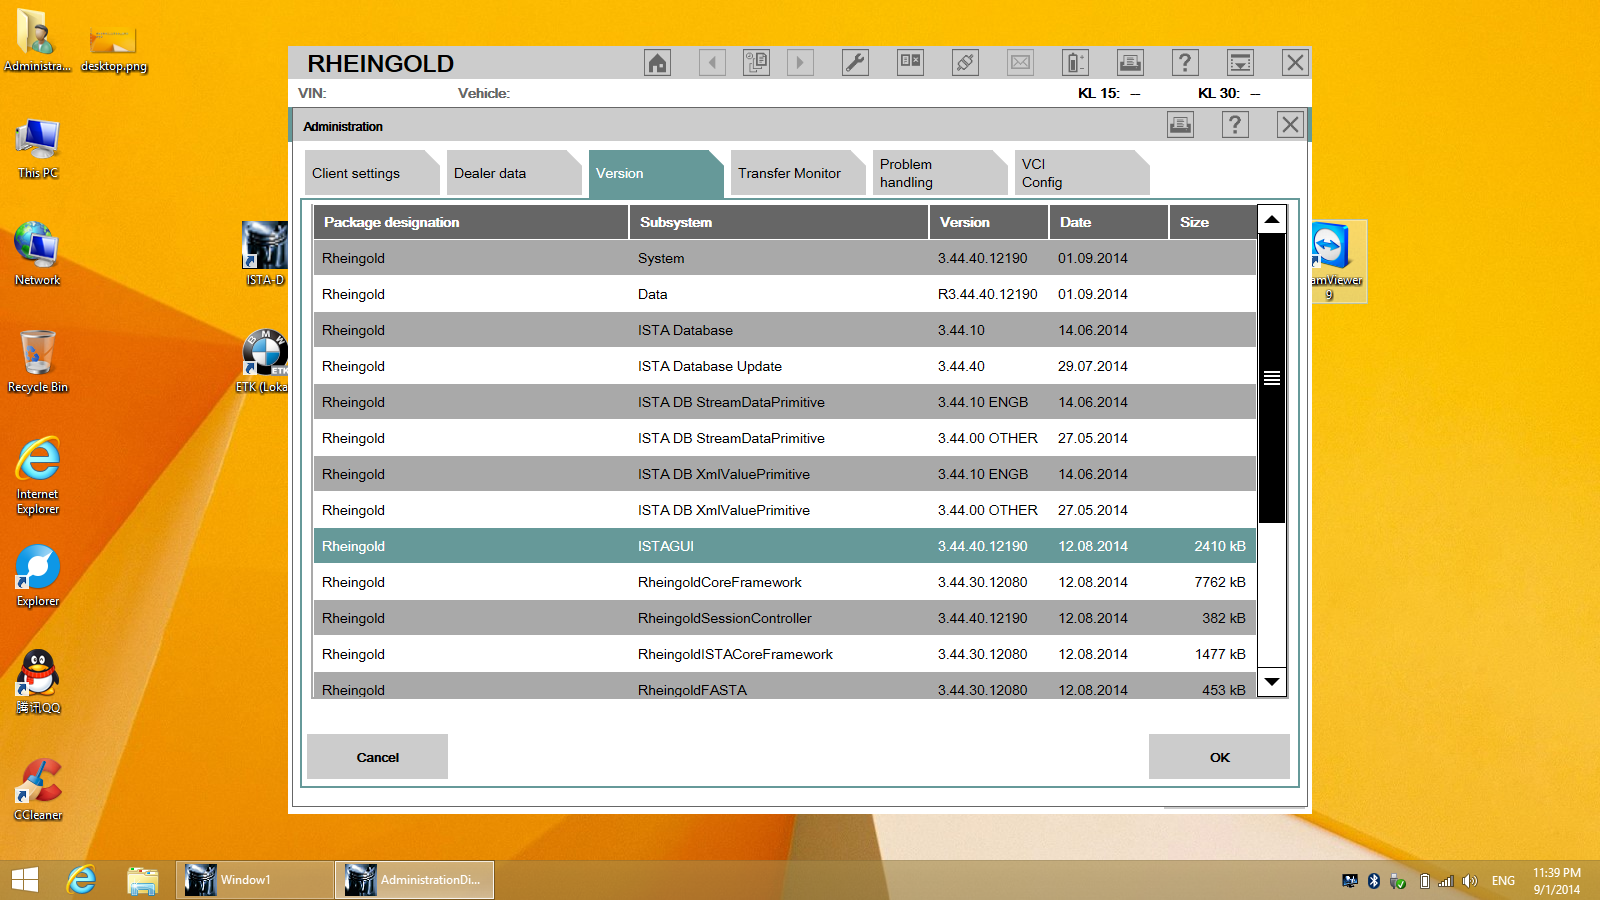
BMW ICOM Win8.1 ISTAD 3.44.40

BMW ICOM Win8.1 ISTAP 53.4.002
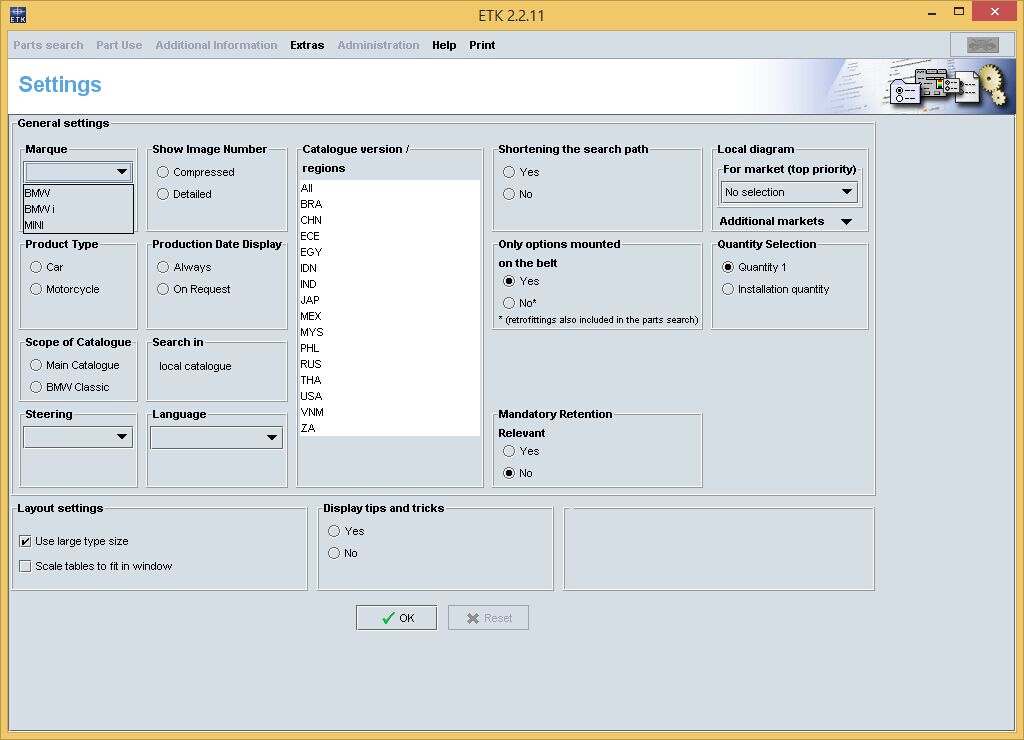
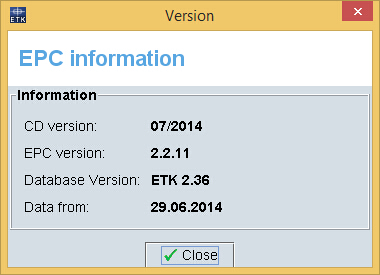
Also we installed the BMW ETK 2014-07 Version with the system, if you want to download this software for free, please click here>>
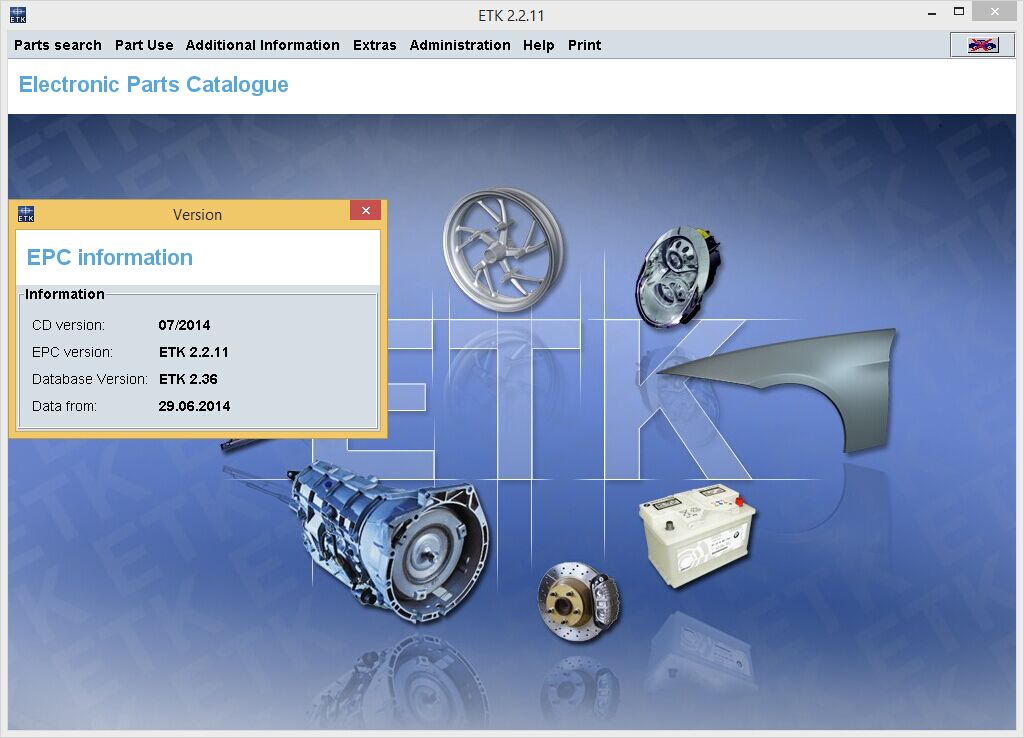
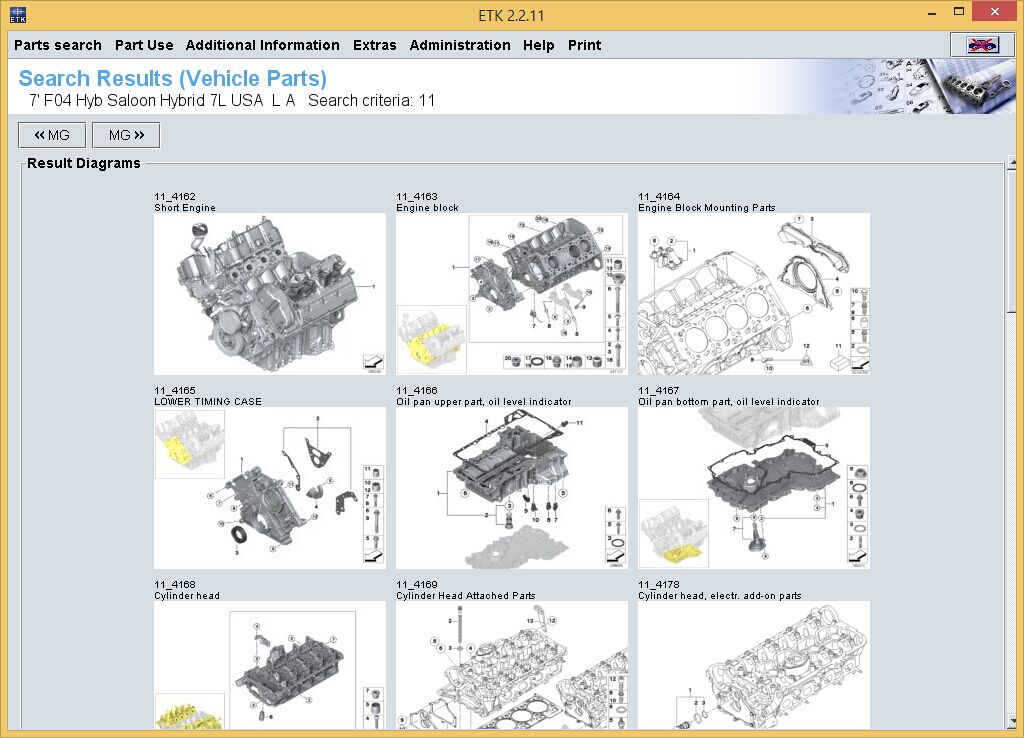
BMW ETK 2014-07
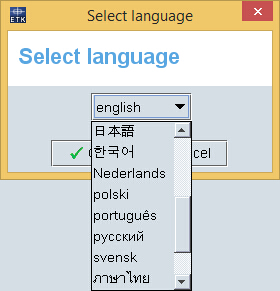
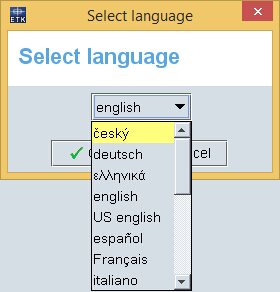
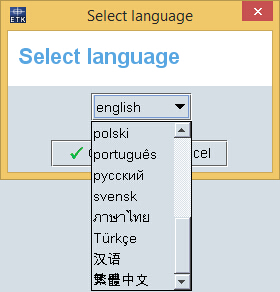
BMW ETK 2014-07 LANGUAGES
What’s more, the BWM ICOM Win8.1 software also allow you install your local printer which is the most important thing for our daily use.
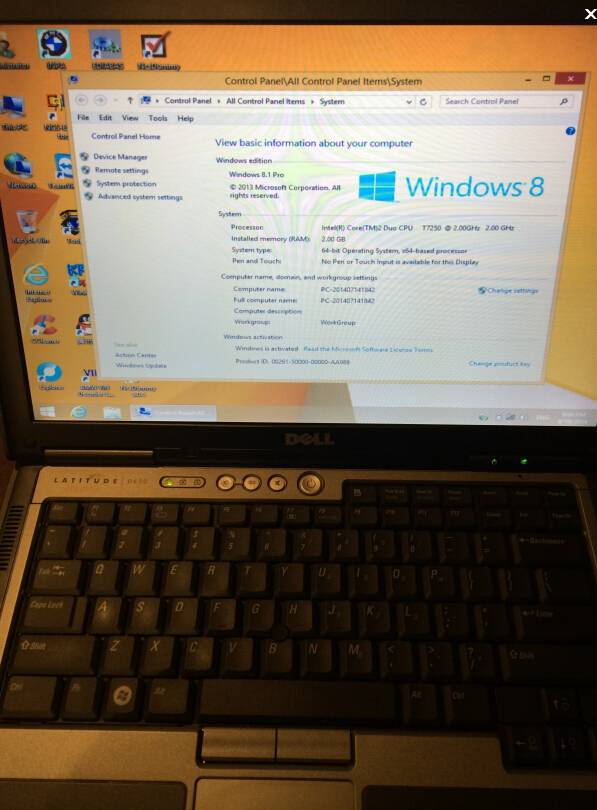
ICOM Win8.1 Pro
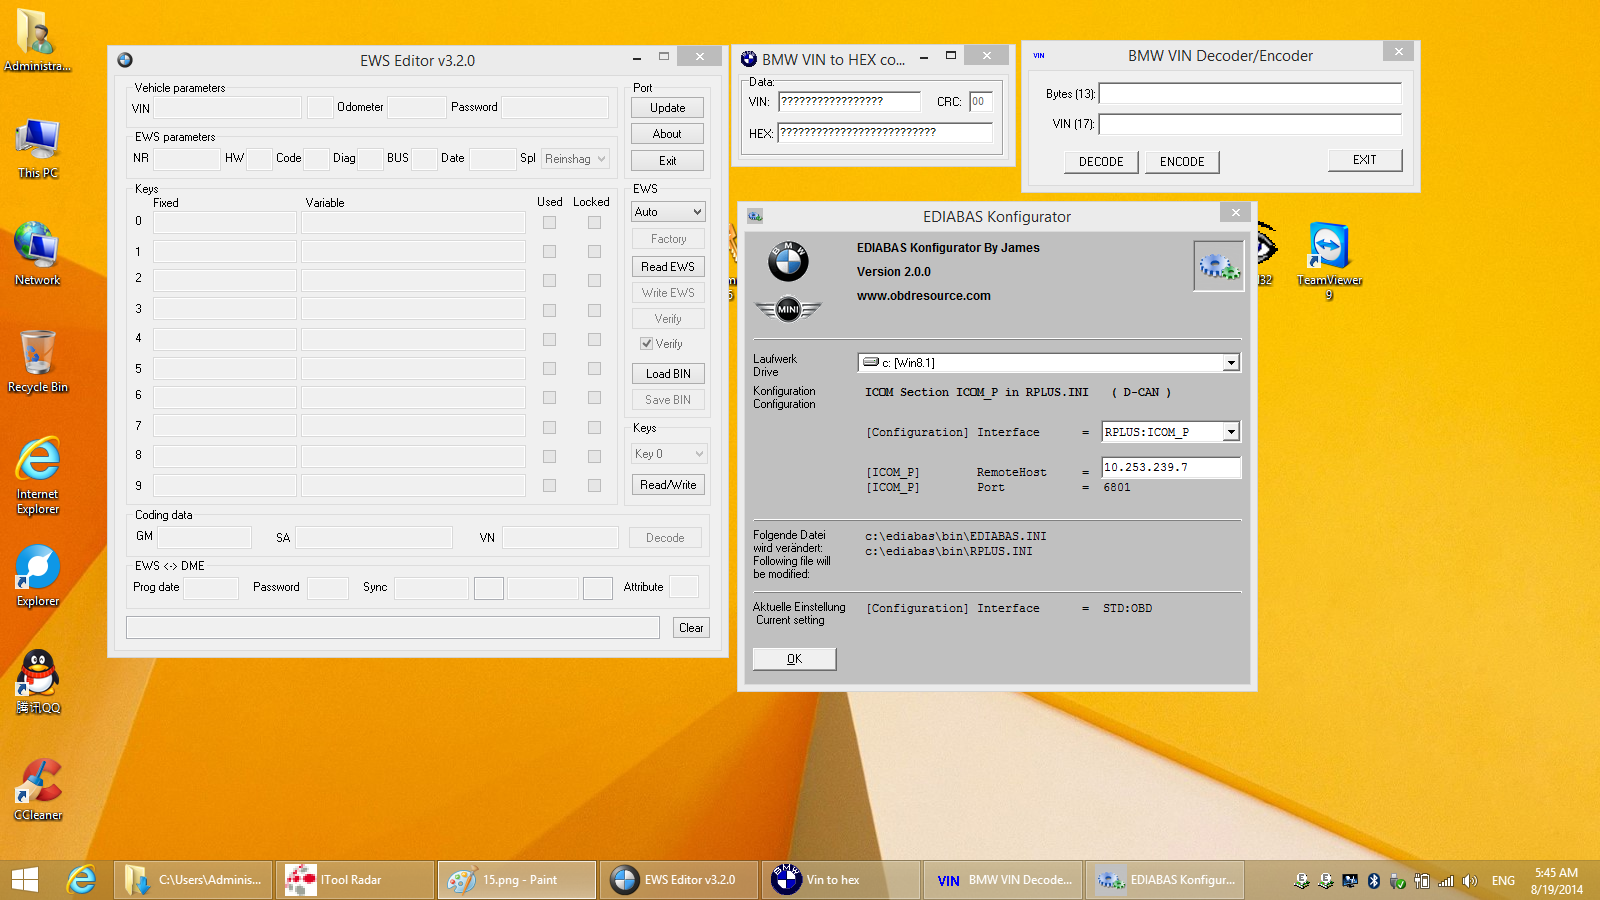
We installed some very useful software such as iToolRadar and VIN to HEX exchange tool, also iTool32 and Teamviewer for remote support!
This version is Revolutionary edition for BMW ICOM software, it is open and fast with SSD, we use Intel 160GB SSD to work with the most laptop, even the DELL D630.
Win 8.1 ICOM SDD with DELL D630 laptop
We all believe that, the most laptop configuration is much more better than D630 laptop, if you use with tablet such as Leveno X201T or X61T, the touch screen driver will be ready automatically!
If you have any questions, please feel free to contact with our professional online customer service.
Thanks! @OBDResource