DAS Xentry 2014-12 Installation Steps Guide
DAS Xentry 2014-12 Installation Steps Guide is made by OBDResource, only for share. Today we install the latest version DAS Xenty 2014-12 Software, total is 8.5GB DVD X2, should be install one by one.
If you need the DAS Xentry 2014-12 install DVD, please click this link.
Preview the Xentry 2014-12 photo, please click here.
You can use pure OS XP SP3 (Recommend) or install by the updater version (2014-05/ 2014-07 or 2014-09 DAS Xenty)
If you use pure installation, you need prepare something before installation start, such as make your hard driver into 4 partitions, and fix some register to make your laptop meets the software install requirement, etc.
Now, let get start of DAS Xentry 2014-12 Installation.
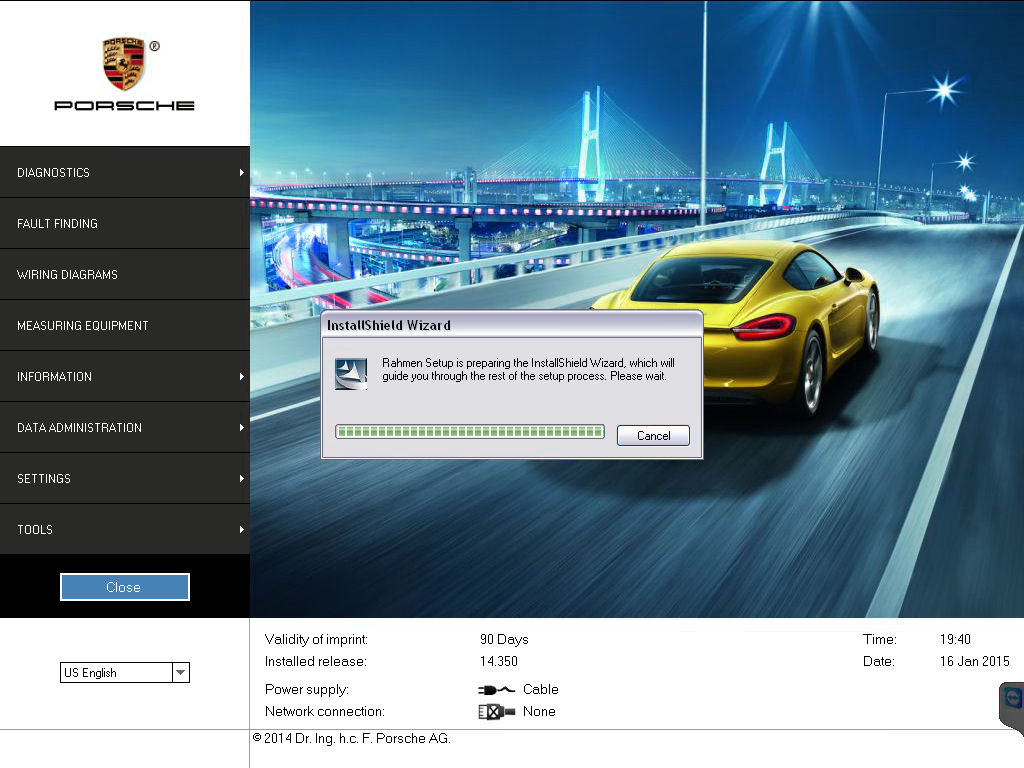
1. Insert the first DVD and find setup.exe in path: X:\stardiag\setup.exe, if your laptop / PC meets the software requirement, you will see the below photo, if not, it will show you error such as: APP ID 252 or 253 is not possible install bala bala…

Super MB STAR DAS Xentry 2014-12 Installation
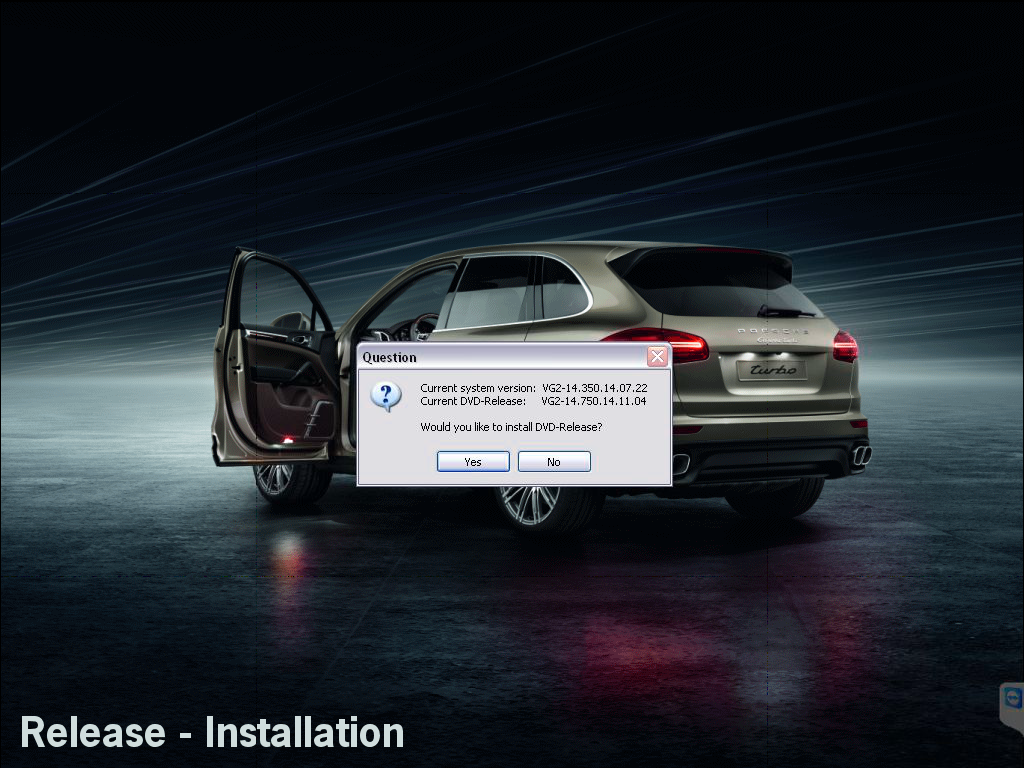
2. Click next to continue, then you will see the following photo. Now the system will be checked again.

DAS Xentry 2014-12 Installation steps
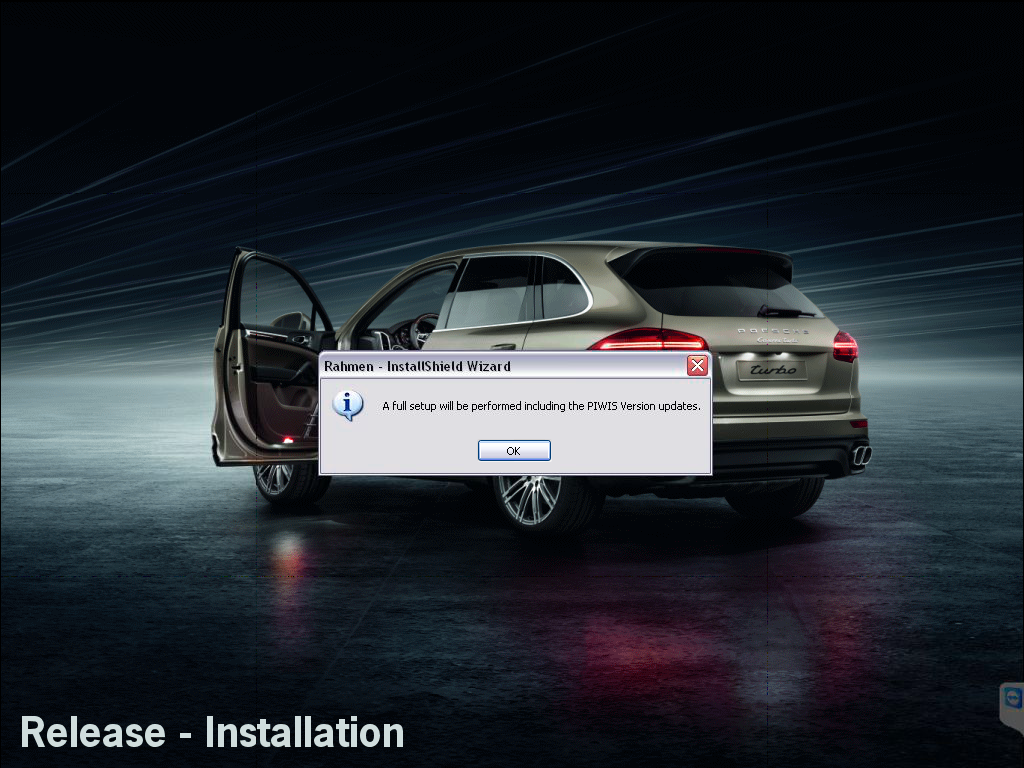
3. Continue then the software will be installed automatically. It will firstly install the cache and some database to your partition E. After copying the files, it will do the real installation.

DAS Xentry 2014-12 Installation steps
4. Now it is installing some Mircosoft paths to make sure the software can run under environment. (.netframe work something)

DAS Xentry 2014-12
5. Online update files are been installed

Super MB STAR Online Upgrade
6. Installation of SEP12

Installation of SEP12
7. Install of Acrobat Reader

Install of Acrobat Reader
8. Installation of Java Runtime

Installation of Java Runtime
9. Now it is writing version information into your software HDD.

writing version information
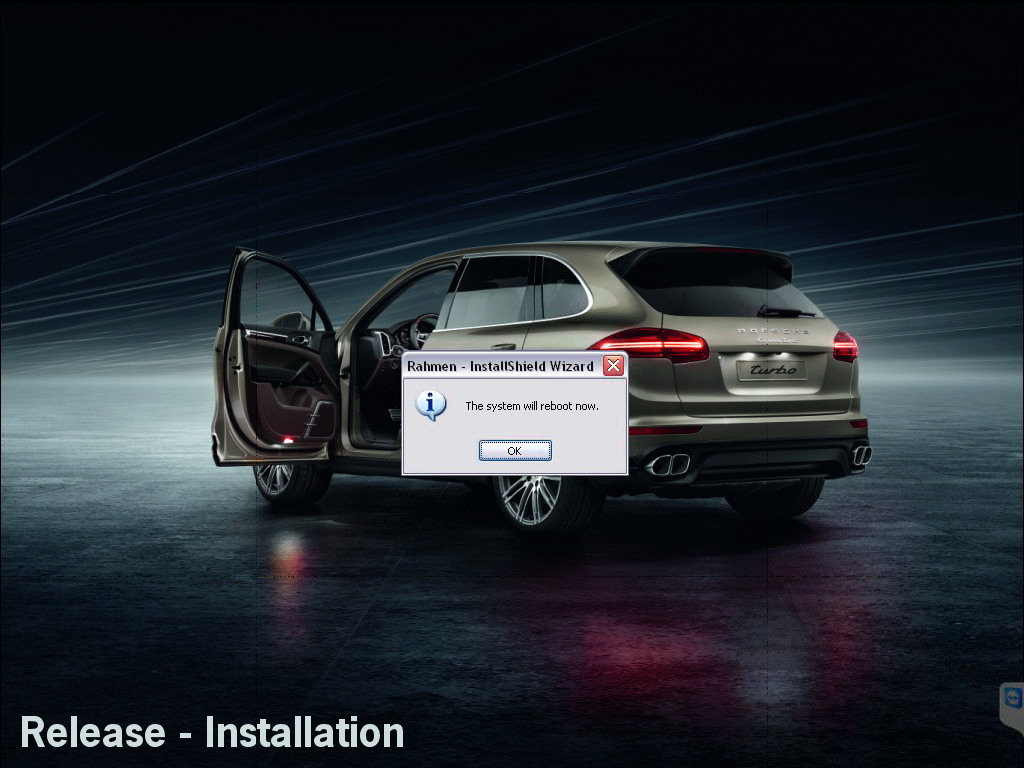
10. Now the first Disk of DAS Xentry 2014-12 already installed, system shows you insert the 2nd DVD, after you choose finish, it will restart automatically.

DAS Xentry 2014-12 already installed
11. Now we put the 2nd DVD into DVD rom, after the system restrat, you will have a screen like this.

DAS XENTRY 2014-12 INSTALALTION 2 OF 2
12. After click the setup button, it will installa automatically. Here i want to say something, maybe u will have the error of (deleted install) and the system ask you install DVD 1of 1 again, because it will verify the 1st installation successful or not. If you meet this error, just go back to install the 1st DVD as require, it will not cost you too much time (around 10-15 mins) then install again the 2nd DVD in X:/stardiag/setup.exe

STAR DAS XENTRY 2014-12 INSTALLATION
13. Now it shows the installation details and how much time you should wait till installation finish. (It is just approx time, for me, it not cost that much time)

DAS Xentry 2014-12 Install perpare
14. As the 1 DVD install, it will install some fixs and addons, then it will uninstall the old version DAS software before the new one replaced.

uninstall the old version DAS software
15. Install of das 2014-12 MS fixs

Install of das 2014-12 MS fix
16. Now the software setup some DAS data in C partition.

setup some DAS data in C partition
17. Now install the database to F disk as i know..

install the database to F
18. Write version information again..

Write version information
19. Installation of SDflash data

Installation of SDflash data
20. Xentry 2014-12 will be installed automatically by the software, of course you can just install the Xentry 2014-12 if you want.

Xentry 2014-12
21. Finally, here we see the last step of refresh the version information.

refresh the version information
22. Well, now we see the “Final” warning of the software, it seems the last version before you can un-freeze it by “offical” way, but, let’s see what happen in 2015 🙂

DAS 2014-12 Freeze warning
23. Now we see the installation finish window, after u click finish button, it will restart automatically, so do something (fix something) before that. you can adjust the startup time timeout max time ect.. and others…

DAS 2014-12 Install finish
For all the steps above, are the details of installing 2014-12 DAS, it total cost us around 5 hours or so to finsh installation.
Some Tips:
- Make sure your all partition with enough space before installation, otherwise it will waste you too much time.
- If you try to install the software in 120GB HDD, personally i suggest you firstly install into 250GB or 320GB HDD, then use ghost to make it thin.
- Remeber to setup the power config or your laptop as : Always on
- Active your Xentry before installation
If you have any questions or comments, please ask here.
Thanks!