DAS Xentry 2014-12 Installation Steps Guide

DAS Xentry 2014-12 Installation Steps Guide

DAS Xentry 2014-12 Installation Steps Guide is made by OBDResource, only for share. Today we install the latest version DAS Xenty 2014-12 Software, total is 8.5GB DVD X2, should be install one by one.

If you need the DAS Xentry 2014-12 install DVD, please click this link.

Preview the Xentry 2014-12 photo, please click here.

You can use pure OS XP SP3 (Recommend) or install by the updater version (2014-05/ 2014-07 or 2014-09 DAS Xenty)

If you use pure installation, you need prepare something before installation start, such as make your hard driver into 4 partitions, and fix some register to make your laptop meets the software install requirement, etc.

Now, let get start of DAS Xentry 2014-12 Installation.

1. Insert the first DVD and find setup.exe in path: X:\stardiag\setup.exe, if your laptop / PC meets the software requirement, you will see the below photo, if not, it will show you error such as: APP ID 252 or 253 is not possible install bala bala…

Super MB STAR DAS Xentry 2014-12 Installation

Super MB STAR DAS Xentry 2014-12 Installation

2. Click next to continue, then you will see the following photo. Now the system will be checked again.

DAS Xentry 2014-12 Installation steps

DAS Xentry 2014-12 Installation steps

3. Continue then the software will be installed automatically. It will firstly install the cache and some database to your partition E. After copying the files, it will do the real installation.

DAS Xentry 2014-12 Installation steps

DAS Xentry 2014-12 Installation steps

4. Now it is installing some Mircosoft paths to make sure the software can run under environment. (.netframe work something)

DAS Xentry 2014-12

DAS Xentry 2014-12

5. Online update files are been installed

Super MB STAR Online Upgrade

Super MB STAR Online Upgrade

6. Installation of SEP12

Installation of SEP12

Installation of SEP12

7. Install of Acrobat Reader

Install of Acrobat Reader

Install of Acrobat Reader

8. Installation of Java Runtime

Installation of Java Runtime

Installation of Java Runtime

9. Now it is writing version information into your software HDD.

writing version information

writing version information

10. Now the first Disk of DAS Xentry 2014-12 already installed, system shows you insert the 2nd DVD, after you choose finish, it will restart automatically.

DAS Xentry 2014-12 already installed

DAS Xentry 2014-12 already installed

11. Now we put the 2nd DVD into DVD rom, after the system restrat, you will have a screen like this.

DAS XENTRY 2014-12 INSTALALTION 2 OF 2

DAS XENTRY 2014-12 INSTALALTION 2 OF 2

12. After click the setup button, it will installa automatically. Here i want to say something, maybe u will have the error of (deleted install) and the system ask you install DVD 1of 1 again, because it will verify the 1st installation successful or not. If you meet this error, just go back to install the 1st DVD as require, it will not cost you too much time (around 10-15 mins) then install again the 2nd DVD in X:/stardiag/setup.exe

STAR DAS XENTRY 2014-12 INSTALLATION

STAR DAS XENTRY 2014-12 INSTALLATION

13. Now it shows the installation details and how much time you should wait till installation finish. (It is just approx time, for me, it not cost that much time)

DAS Xentry 2014-12 Install perpare

DAS Xentry 2014-12 Install perpare

14. As the 1 DVD install, it will install some fixs and addons, then it will uninstall the old version DAS software before the new one replaced.

uninstall the old version DAS software

uninstall the old version DAS software

15. Install of das 2014-12 MS fixs

Install of das 2014-12 MS fix

Install of das 2014-12 MS fix

16. Now the software setup some DAS data in C partition.

setup some DAS data in C partition

setup some DAS data in C partition

17. Now install the database to F disk as i know..

install the database to F

install the database to F

18. Write version information again..

Write version information

Write version information

19. Installation of SDflash data

Installation of SDflash data

Installation of SDflash data

20. Xentry 2014-12 will be installed automatically by the software, of course you can just install the Xentry 2014-12 if you want.

Xentry 2014-12

Xentry 2014-12

21. Finally, here we see the last step of refresh the version information.

refresh the version information

refresh the version information

22. Well, now we see the “Final” warning of the software, it seems the last version before you can un-freeze it by “offical” way, but, let’s see what happen in 2015 🙂

DAS 2014-12 Freeze warning

DAS 2014-12 Freeze warning

23. Now we see the installation finish window, after u click finish button, it will restart automatically, so do something (fix something) before that. you can adjust the startup time timeout max time ect.. and others…

DAS 2014-12 Install finish

DAS 2014-12 Install finish

For all the steps above, are the details of installing 2014-12 DAS, it total cost us around 5 hours or so to finsh installation.

Some Tips:

  • Make sure your all partition with enough space before installation, otherwise it will waste you too much time.
  • If you try to install the software in 120GB HDD, personally i suggest you firstly install into 250GB or 320GB HDD, then use ghost to make it thin.
  • Remeber to setup the power config or your laptop as : Always on
  • Active your Xentry before installation

If you have any questions or comments, please ask here.

Thanks!

Xentry Connect Recovery Steps

Xentry Connect Recovery Steps

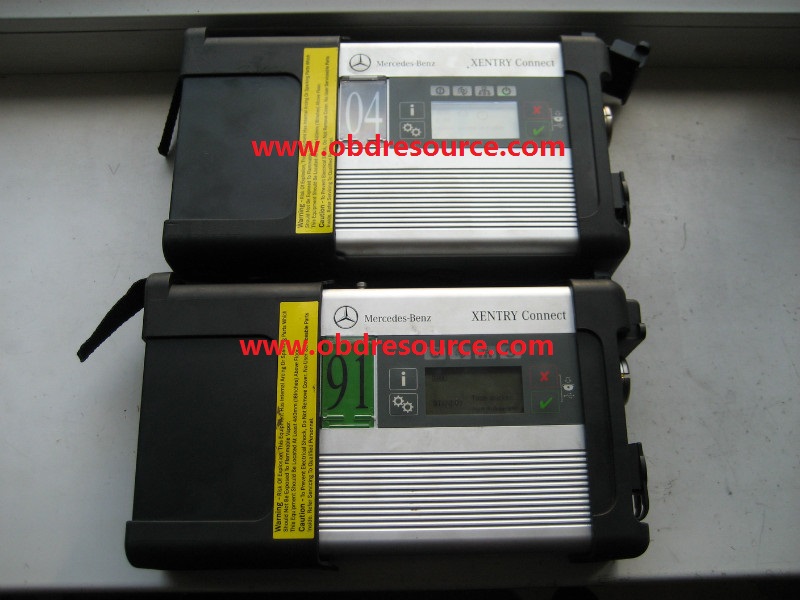
Xentry Connect Recovery Steps obdresource.com made as below. If you met the Xentry connect not working well, you can use this method to reset the Xentry Connect multiplexer.

If you want to buy the Xentry connect hardware, please click here>>

1. Make sure the Xentry connect is in Standby Mode!!!

Xentry Connect Reset

Xentry Connect Reset

2. Please connect the driver and power supply includinged in delivery to your Xentry connect and to the drive.

Xentry Connect Reset

Xentry Connect Reset

3. Power on the Xentry Connect with the key Combination Red Cross and Green Check Mark.

Xentry Connect Reset

Xentry Connect Reset

4. Just wait till the steps finish.

Xentry Connect Reset

Xentry Connect Reset

5. You can see the upgrade successfully information on the screen.

Xentry Connect Reset

Xentry Connect Reset

6. If necessary, as you want, install some patchs or addons after the Xentry Connect Recovery.

Xentry Connect Reset

Xentry Connect Reset

If you have any questions about the Xentry connect Recovery, please kindly leave us your msg, or contact with our online customer service. Also we have reset the SD Connect C4 Recovery steps.

Thanks.

SD Connect Compact4 Original Touch Screen Laptop Disassembly

SD Connect Compact4 Original Touch Screen Laptop Disassembly

SD Connect Compact4 Original Touch Screen Laptop Disassembly is made by OBDResource, thanks for @James for all the photo shots and post-production. But if you want to buy the SD Connect Compact4, please just Whacking this link!

We suggest you read this blog beofre your action, if you:

  • want to change the laptop software by swap the HDD
  • want to upgrade the software version
  • want to fix your SD Connect Compact4 Original Touch Screen
  • want to see Pandora’s Box as same as us

Now let’s star the details Disassemble steps of the SD Connect Compact4 Original Touch Screen Laptop.

1. You need 2 pcs Hex screwdrivers as the picture shows, different types.

STAR COMPACT4 Original Trouch screen laptop

STAR COMPACT4 Original Trouch screen laptop

2. Go the back of the laptop, you need remove 4 screws firstly by the bigger size screwdrivers.

STAR COMPACT4 Original Trouch screen laptop back cover

STAR COMPACT4 Original Trouch screen laptop back cover

3.  The 4 pcs big screws as below:

STAR COMPACT4 Original Trouch screen laptop

STAR COMPACT4 Original Trouch screen laptop

4. Now remove the back cover (there are 4pcs fans inside the box to ensure the laptop Cooling)

sd connect c4 laptop back cover fan

sd connect c4 laptop back cover fan

5. Now you can see the back of the SD Connect C4 touch screen laptop true face.

SD Connect C4 touch screen laptop true face

SD Connect C4 touch screen laptop true face

6. Next, it is carefully work, because there are total 20pcs screws need to remove, i have marked by red circle, please remove one by one. (One of them hidden under the label.)

20pcs screws

20pcs screws

7. After remove the 20 pcs screws, it’s the time to remove the 2 pcs battery of the SD Connect Compact4 laptop. Press the 2 buttons as the picture shows, the battery will be pop out automatically.

SD Connect Compact4 battery

SD Connect Compact4 battery

8. Remove the back cover of the laptop carefully.

SD Connect Compact 4 laptop

SD Connect Compact 4 laptop

9. Now we facing a metal protect cover, hard work is still need to remove 23 screws as the picture marked.

23 screws

23 screws

10. Also please pay attention to these 2 screws.

do not forget these 2 guys

do not forget these 2 guys

11. Before you remove her metal “clothes”, please pay attention to that, there are still 2 wire connecting for power supply of the fans.

sd connect c4 laptop left wire

sd connect c4 laptop left wire

Star SD Connect C4 laptop right wire

Star SD Connect C4 laptop right wire

12. Now till this step, we opened the Pandora’s Box, you can see all the details story now!

Star compact4 original laptop heart

Star compact4 original laptop heart

13. After this, you can remove the last 4 screws to swap the HDD as many time as you want to.

SD Connect C4 HDD

SD Connect C4 HDD

14. Lastly, we upload a photo for Super MB STAR software well installed with the original SD Connect Compact4 touch screen laptop.

Super MB STAR Original touch screen laptop

Super MB STAR Original touch screen laptop

Final Notice: Keep your screws well!

If you have any questions, please leave your comments here or contact with our online professional customer service!

All rights reserved by OBDResource Official Blog, please indicate the source.

Mercedes-Benz EPC 2013.8 Released.

The new version EPC (Electronics Part Category) already released, OBDResource develop team already installed and tested, all working fine, below are some details:

Version: Full Version

DVD: 4 Pcs

Tips: If you want to enable WIS Switch, you have to install EPC Net through EWA-NET. when you installing, you need WIS 07-2013 to verify the installation

ownload available for Honest OBDResource User.

Mercedes-Benz WIS 2013.07 Released.

WIS 2013.07 The new version WIS (Workshop Information System) already released, OBDResource develop team already installed and tested, all working fine, below are some details:

Version: Full version (WIS 2013.07)

DVD: 2pcs

Tips: If you want to enable DAS Switch, you have to install WIS Standalone, if you installed as WIS Net mode, you need enable from EWA-NET.

Download available for Honest OBDResource User.

XENTRY 07-2013 DAS Under Testing.

Version: DAS XENTRY 07-2013

Install DVD: 2 pcs

Total Size: 12.39GB

The new version DAS  Xentry 2013-07 is released on July 10th around, which we just received and installed,  it is really difficult to install the new version as you almost can not do the “smooth” installation progress as well as fix many bugs after installation. Now we finally made it and we have already installed the new version in DELL D630 laptop.

The new version installation will face some errors, such as:

“NO Star Diagnosis System Platform”
or
“Software Update NOT Allowed On This System”

If you install it in the DELL D630 laptop or Lenovo laptop, you need “fix” something in register before install. Pure system installation is highly recommend, but if you are trying with upgrade install, you also need “clear” your installation history.

For the Xentry installation, you can do the same way as before, just need apply the Xentry pictures fix and the Xentry black list fix.

Please check here for the New Features of DAS XENTRY SD 7.2013 Info News

New Release of DAS in 07/2013

New Release of DAS in 07/2013

If you have some questions or problems when installing the new version, please leave you message on our blog, welcome to discuss together!

Mercedes-Benz Xentry Connect 2013-03 Version Perview from OBDResource

We succesfully installed DAS/Xentry 2013-03 Version software which based for Xentry Connect new hardware, SD Connect and Super MB STAR as well.

The software installation progress takes over 50 mins, but you will spend more time if you can not find the “correct” way to do that. 5-10 hours maybe, it depends.

In the new version, software is not as good as hopefully, and there are too many “limiations” with 2013-03 DAS version. Anyway, it is pertty cool as you can see some new cars as well as the new photos.

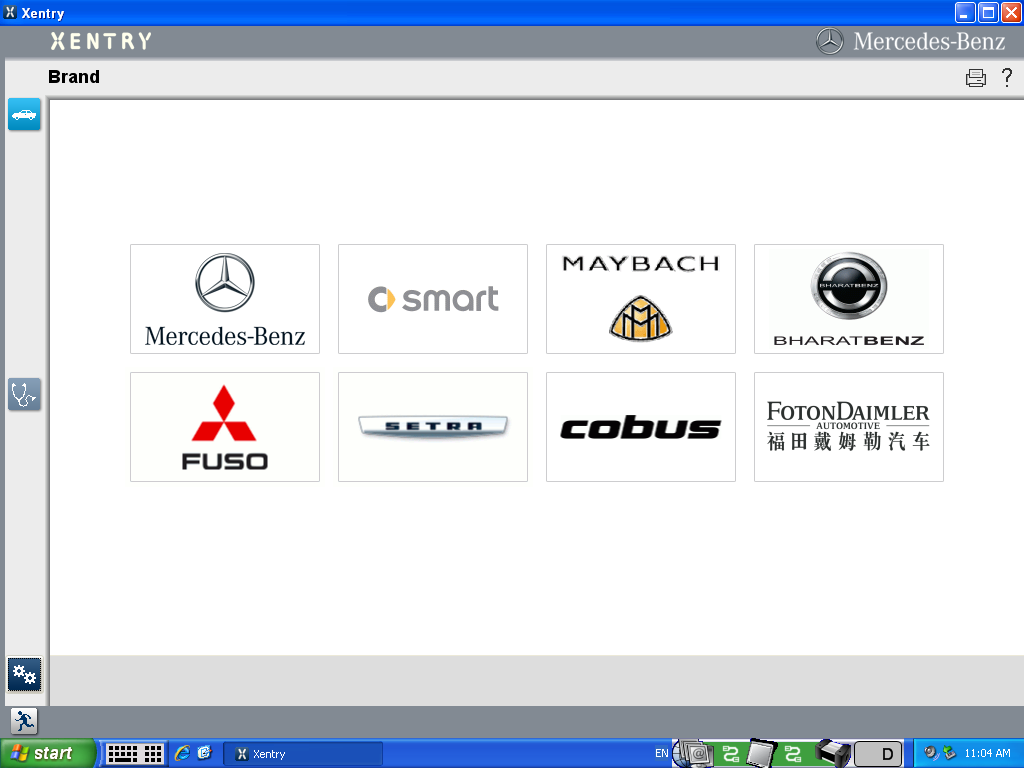
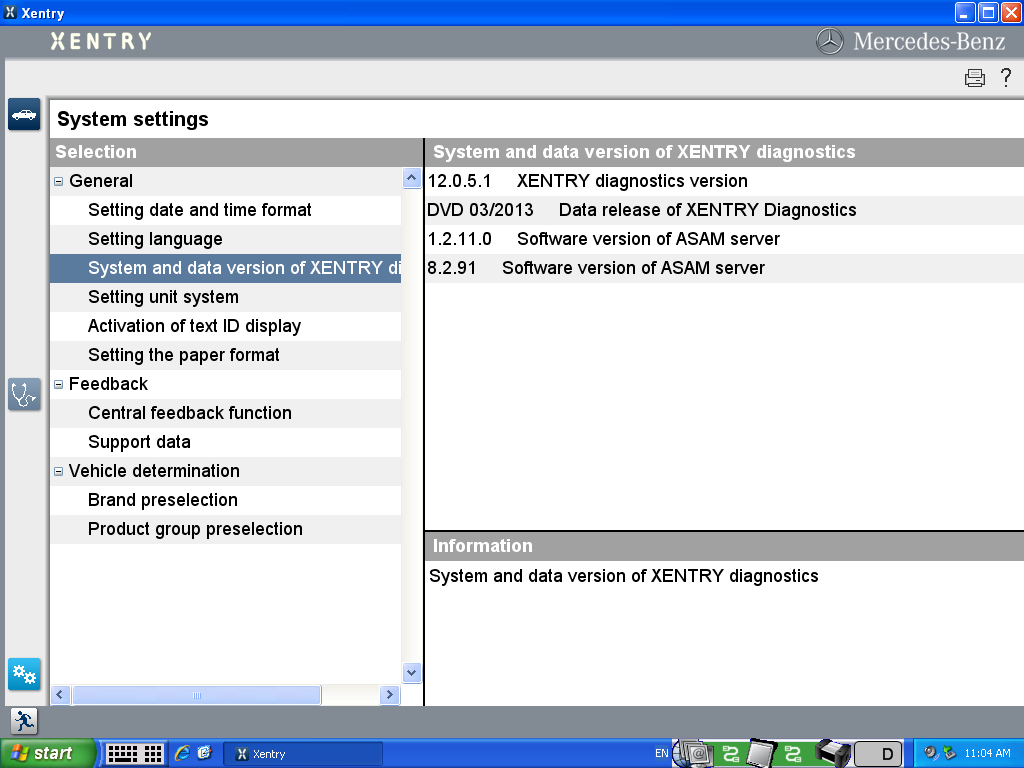
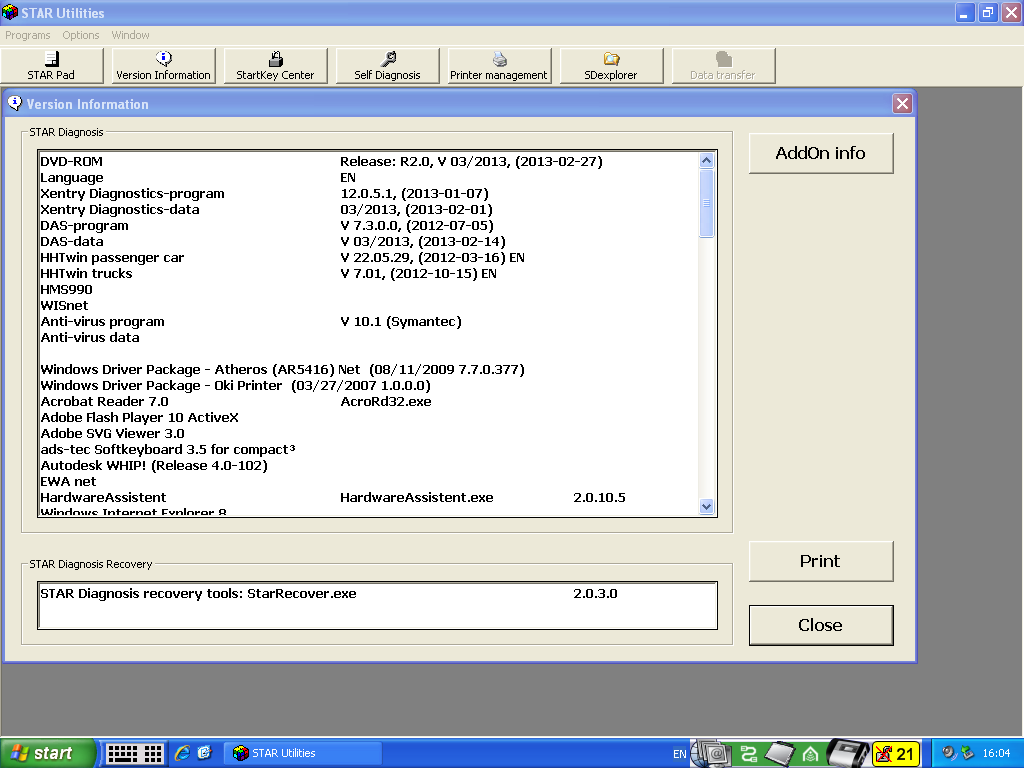
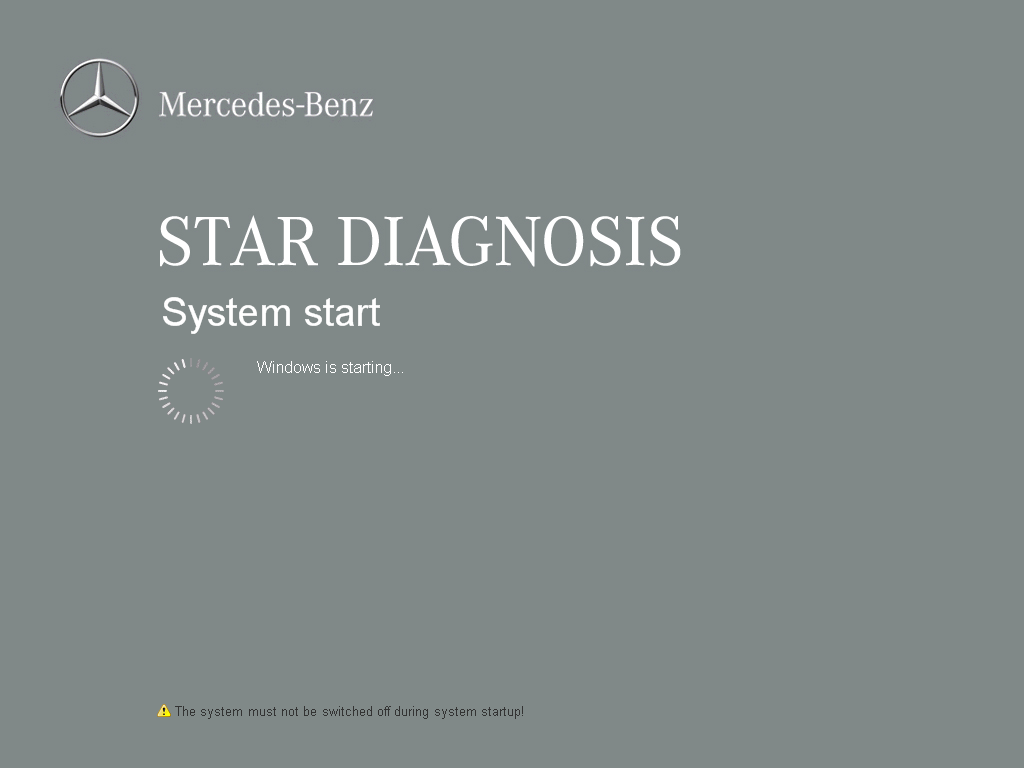
Belows are some screen shot from OBDResource.


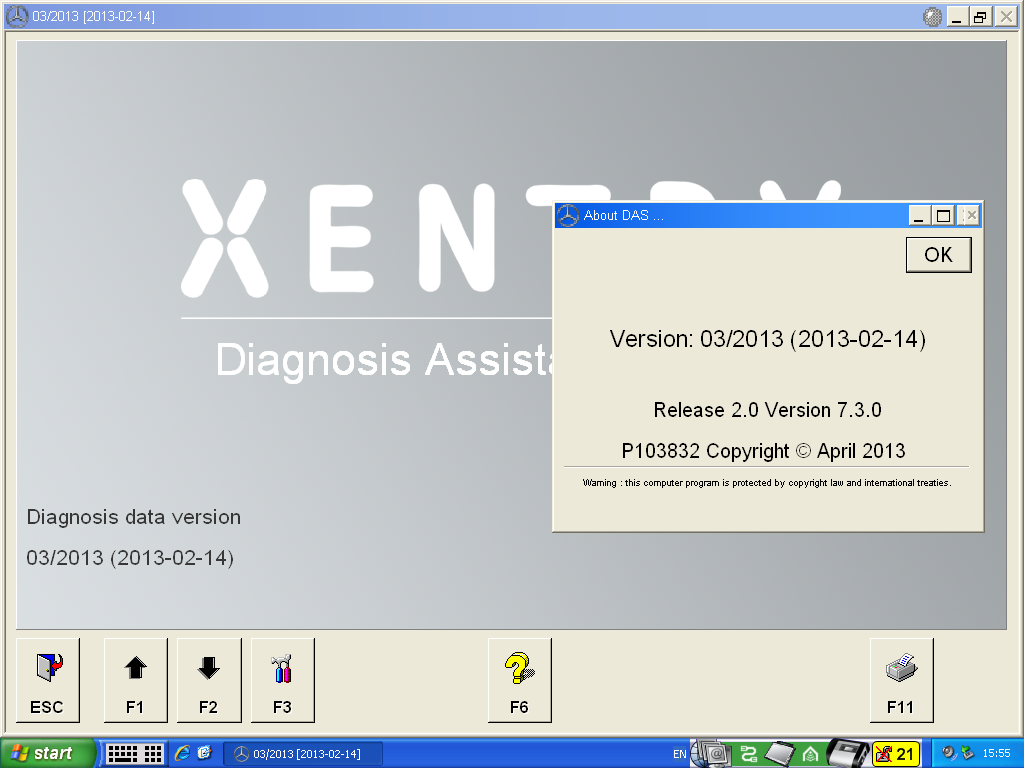
Xentry Main Page

Xentry Main Page

Xentry 03-2013

Xentry 03-2013

All Version Details

All Version Details

Star diagnosis system Windows STAR UP screen shot

Star diagnosis system Windows STAR UP screen shot

DAS 2013-03 Version

DAS 2013-03 Version

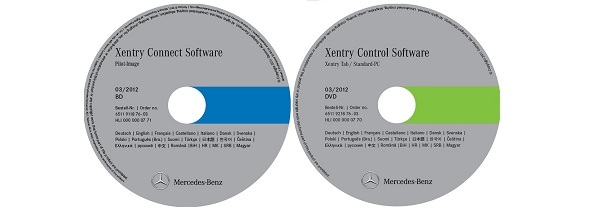
Mercedes-Benz DAS Xentry 03-2012 Download

Mercedes-Benz DAS Xentry 03-2012 Download

New Mercedes-Benz Diagnostic Tools SD Connect Tab Xentry Connect

New Mercedes-Benz Diagnostic Tools SD Connect Tab Xentry Connect

Mercedes-Benz DAS Xentry 03-2012 Download

Mercedes-Benz DAS Xentry 03-2012 Download

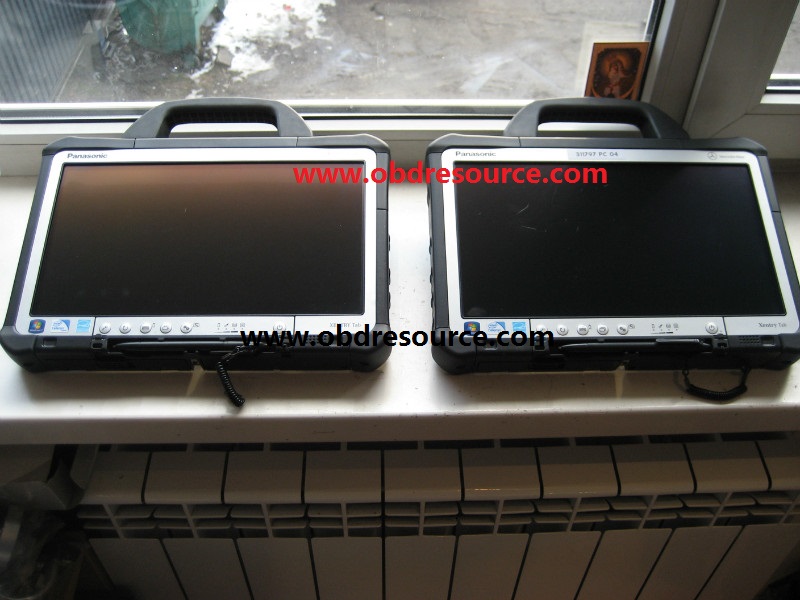
Xentry Connect touchscreen laptop

Xentry Connect touchscreen laptop

New SD Connect Tab Xentry Connect

New SD Connect Tab Xentry Connect

If you need, please you can make per-order now!!! for more details please contact with our online customer service!!

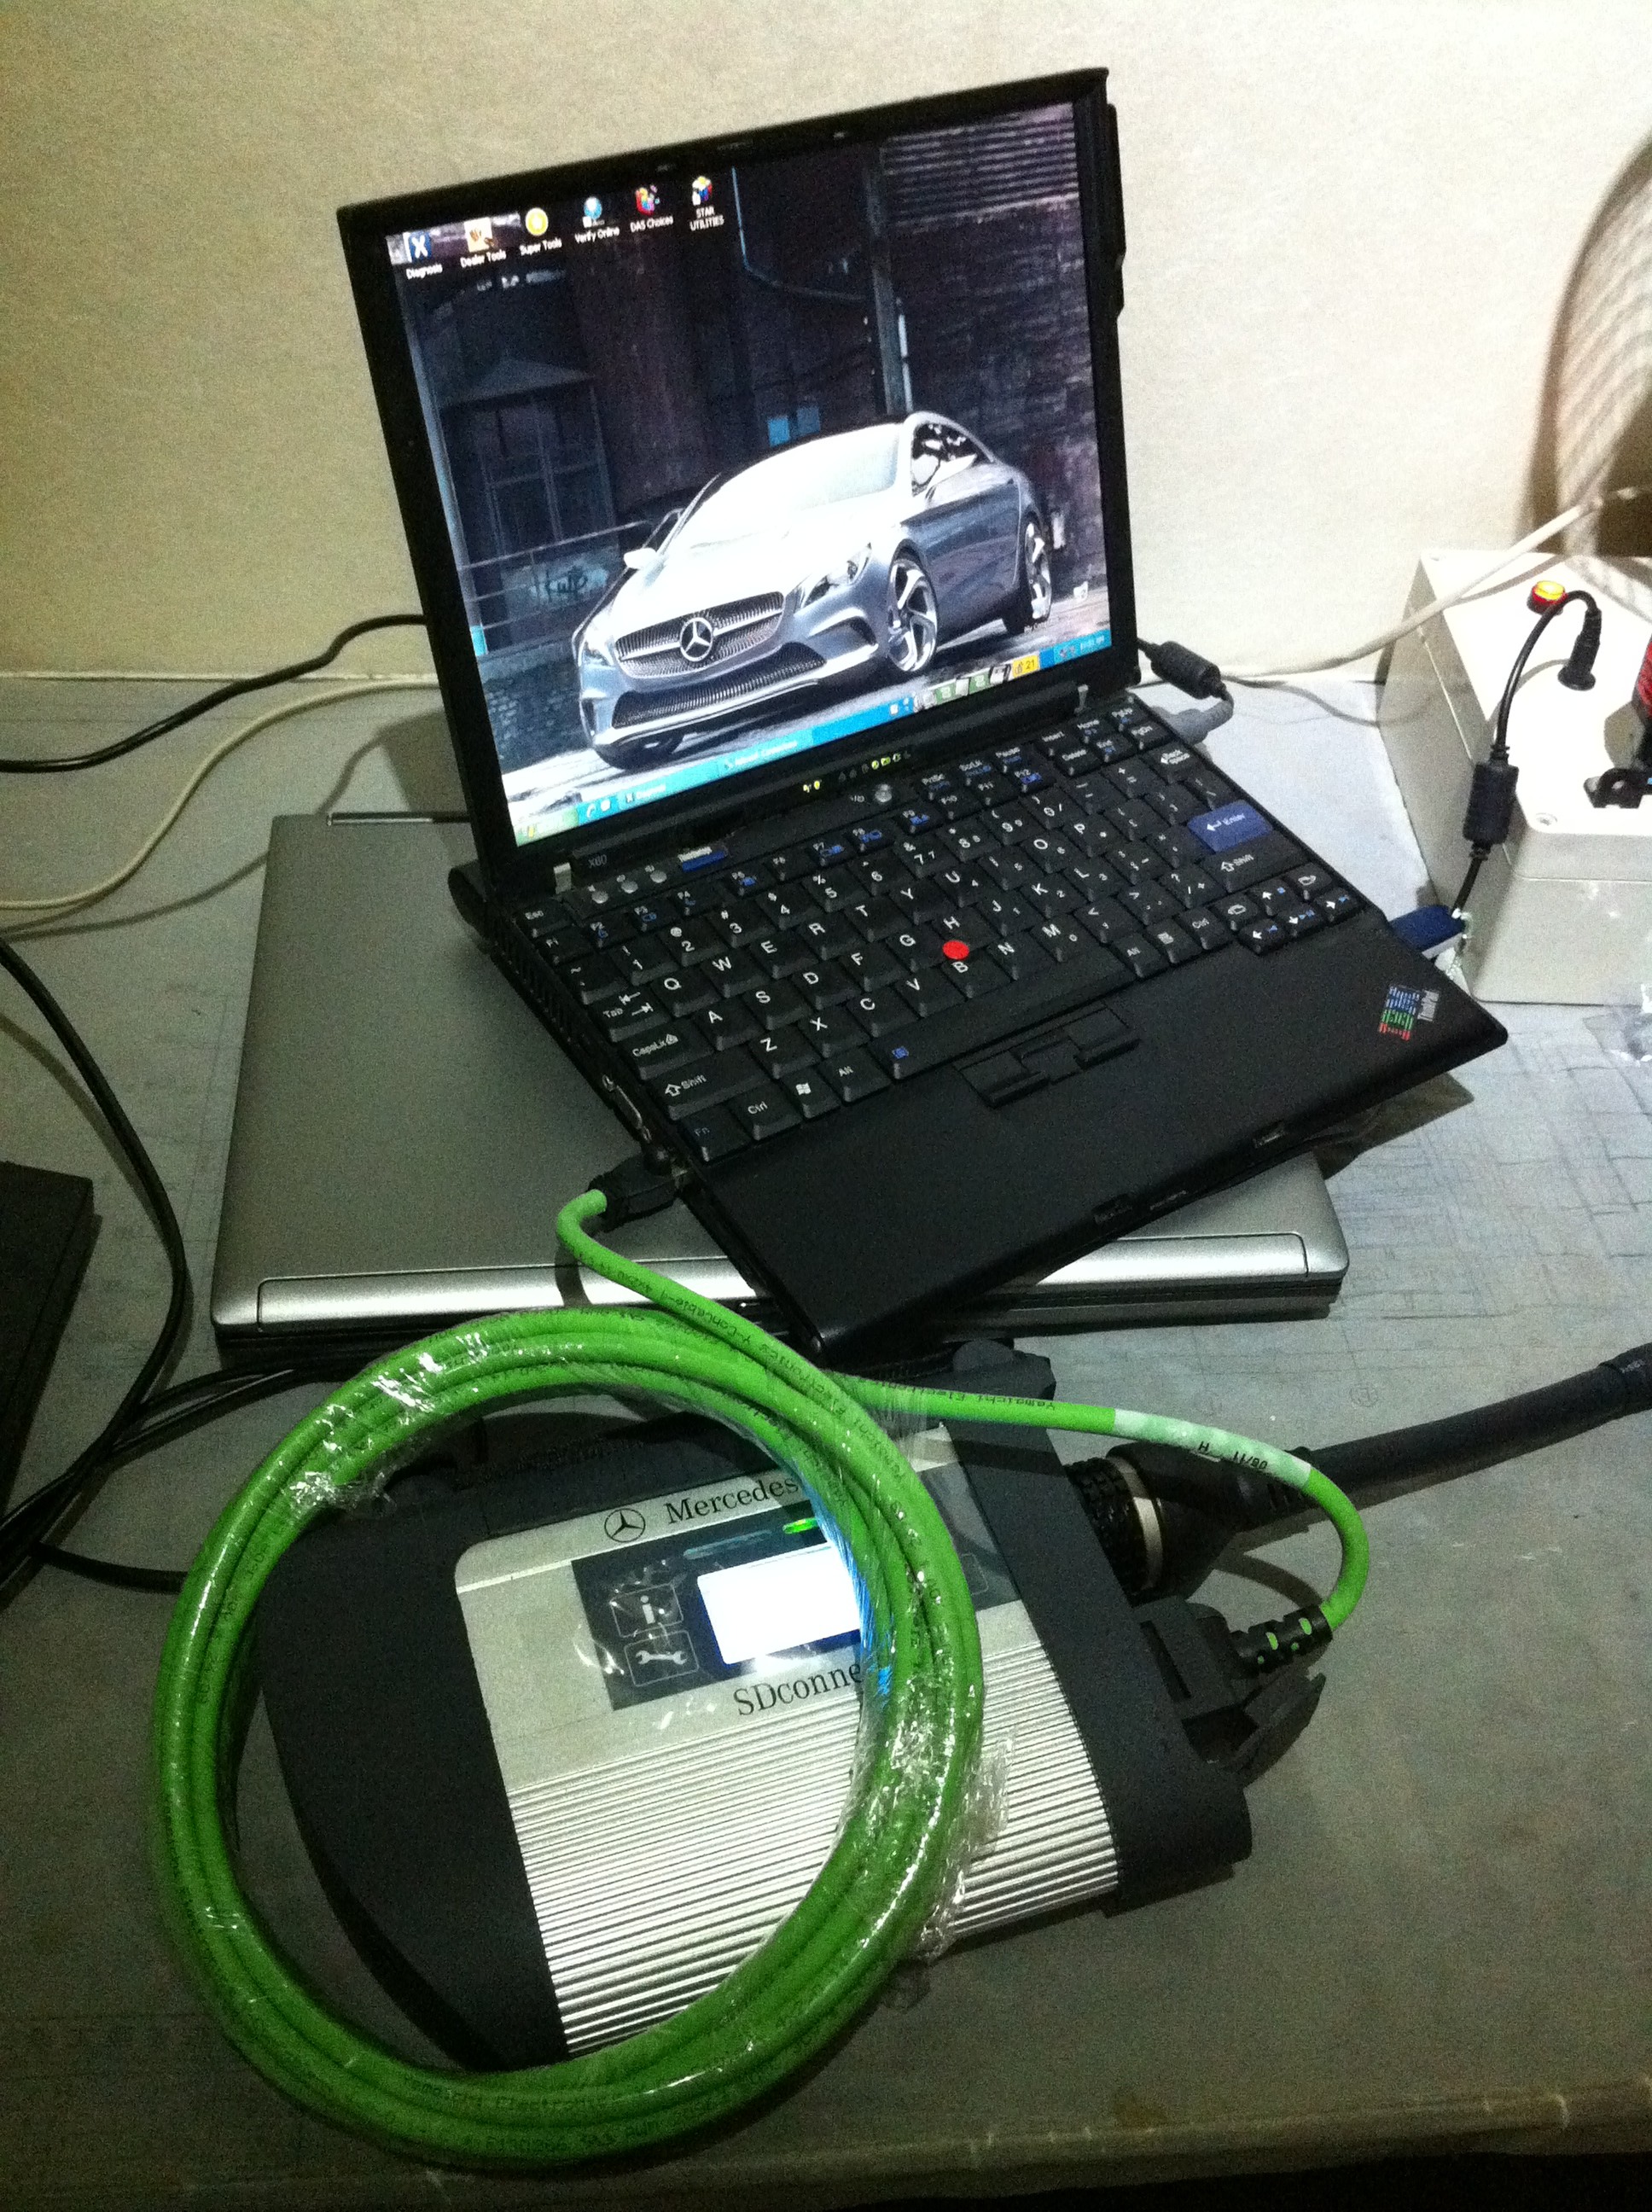
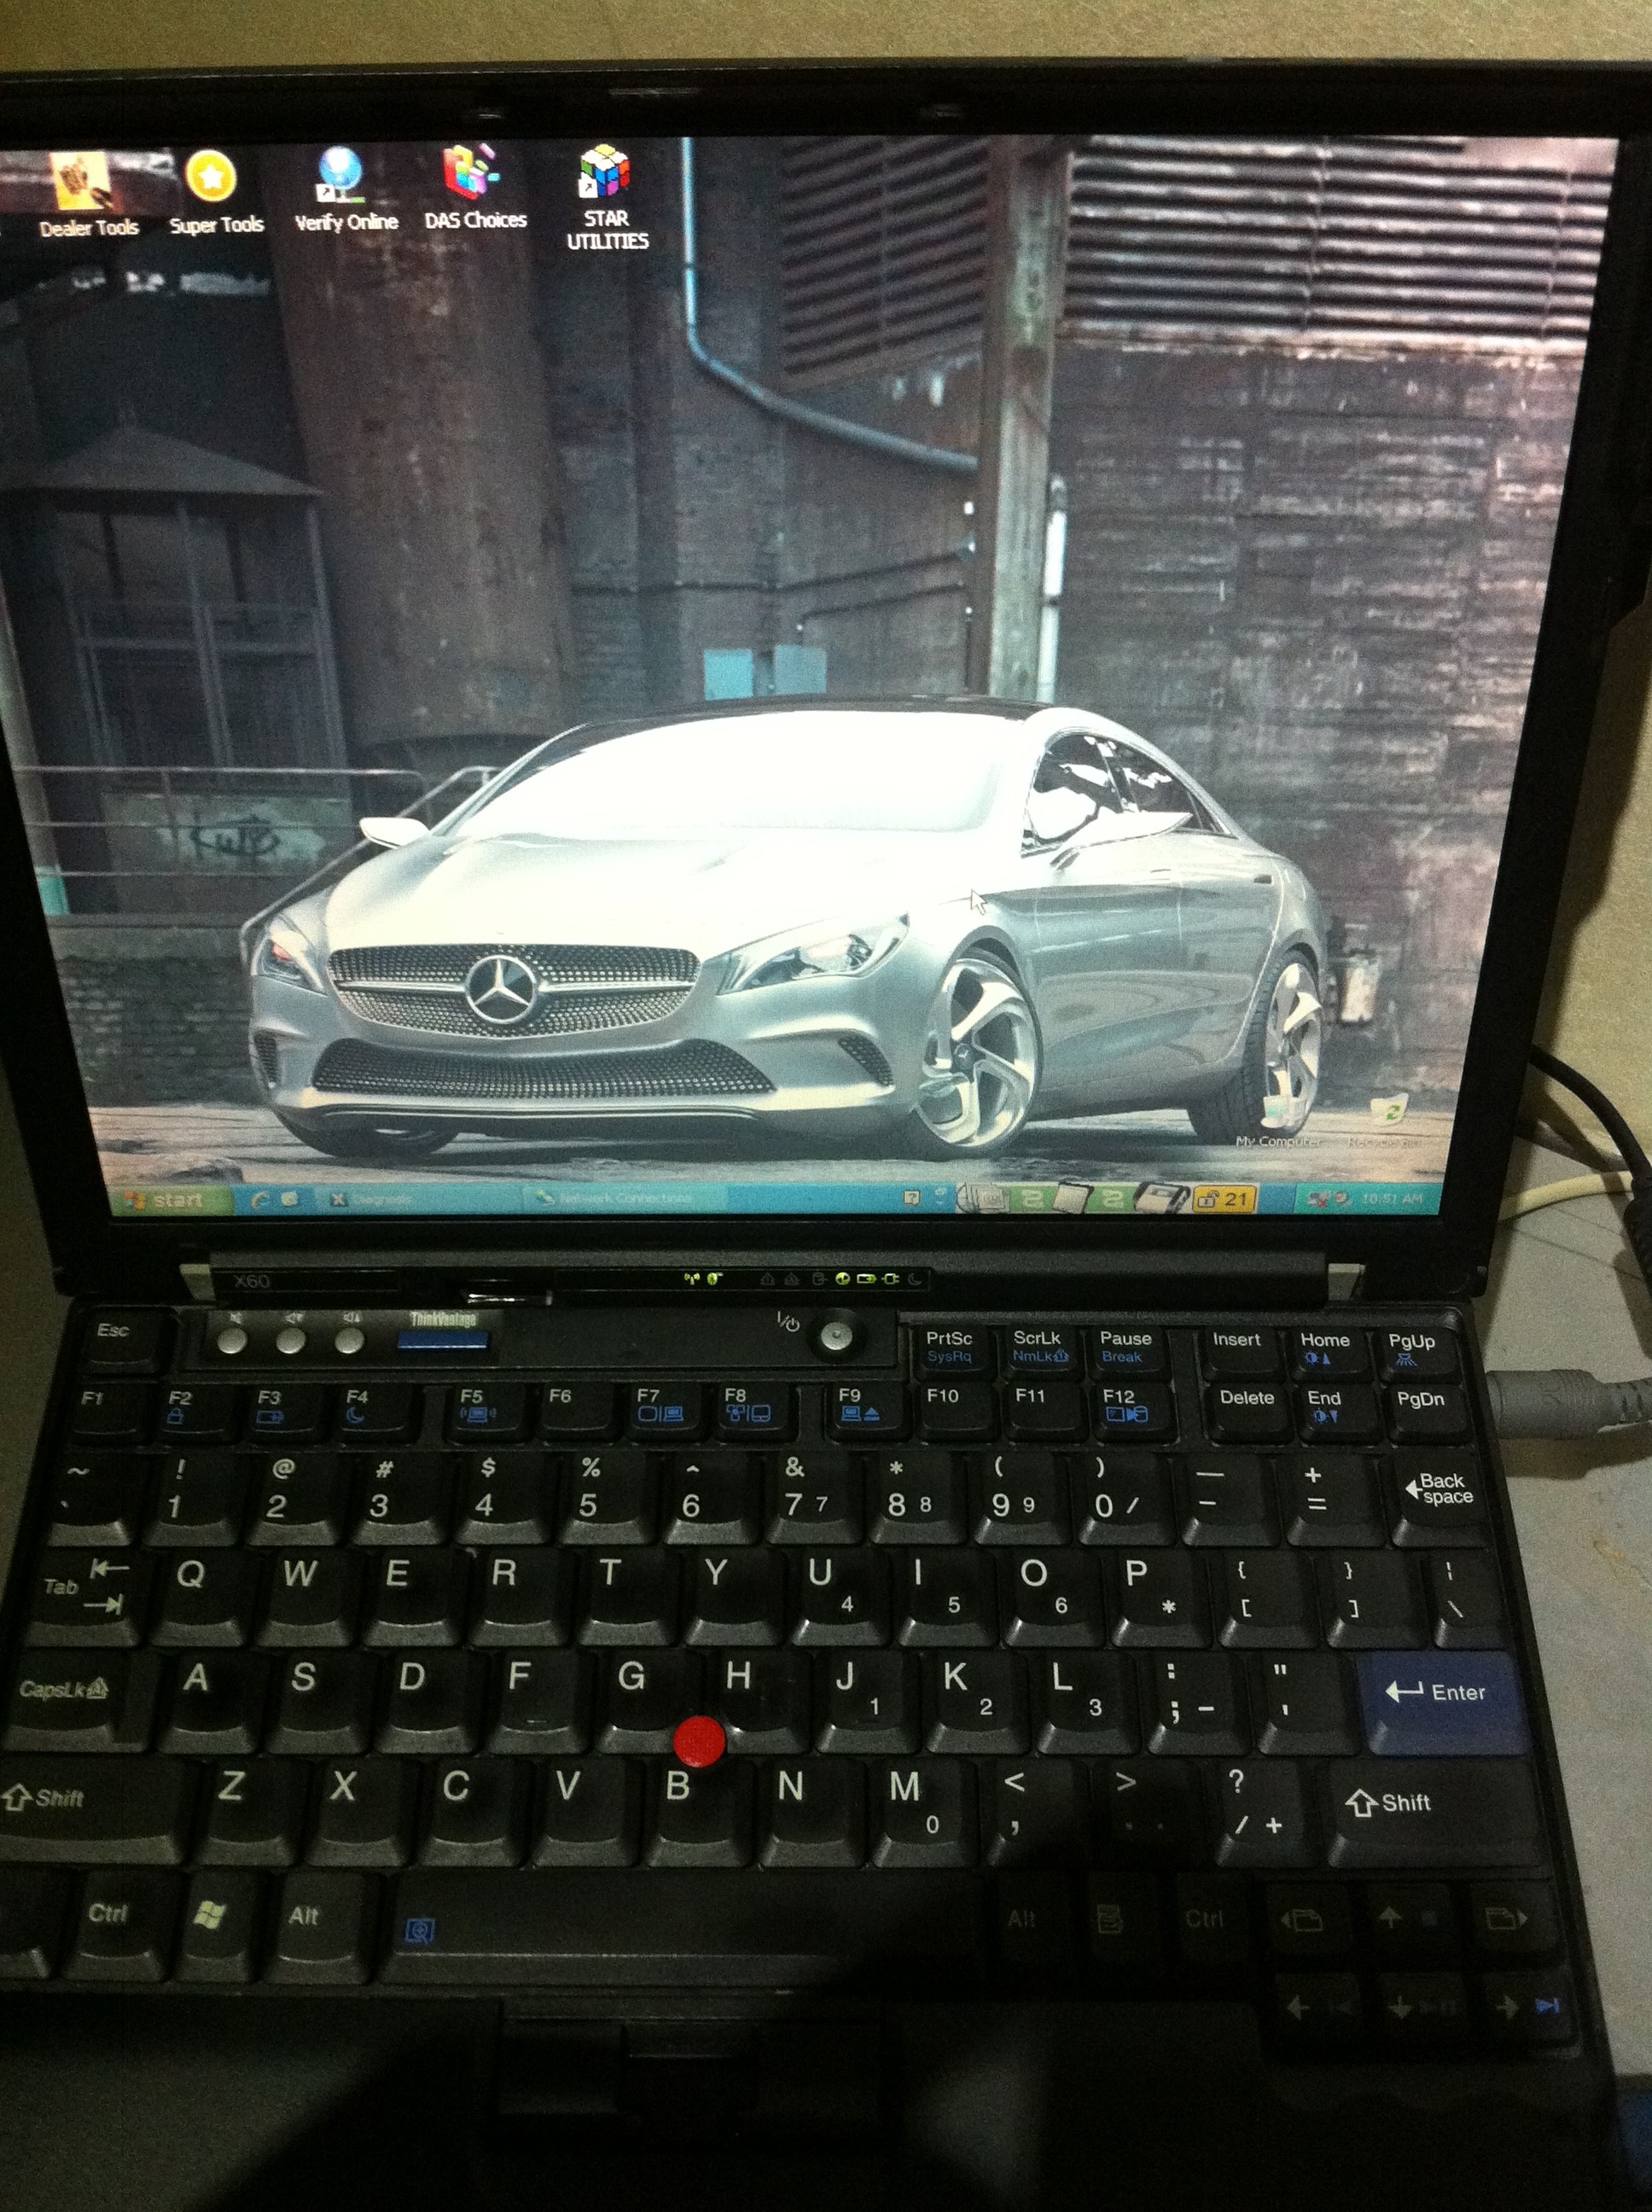
Mercedes-Benz SD connect install into Lenovo X60 native

As customer requests, we install the SD Connect 05-2012 Software into Lenovo X60 laptop, and test success, both the load up and running speed are fantastic!

We upload a picture of it, the laptop is cute but with powerful function at least works so great with SD Connect.

IBM X00 with SD Connect

IBM X60 with SD Connect


IBM X60 with SD Connect

IBM X60 with SD Connect